
The Ortur Laser Master 3 laser cutter and engraver features a 10W diode laser that can engrave at speeds up to 20,000mm/min and cut wood up to 19mm thick. It has built-in WiFi and a powerful smartphone app to create and wirelessly send custom projects directly to the engraver.
I'll go over all of its features and thoroughly test Orturs' claims to see if this is the right laser engraver for you. If you haven't learned about this technology, please take a look at my previous article introducing this technology to help you quickly understand.
My box arrived a bit worn out but everything inside was well protected. Basic assembly is required, but should take no more than 30 minutes to assemble. I don't recommend using the supplied user manual - the illustrations are too small - go to the Ortur website and find a link to a YouTube video of the assembly, or check out the manual online so you can at least zoom in to take a closer look at the more tedious steps.
You can see everything that comes in the box, which includes some safety specs and a handy little storage box with tools and parts. There are also some wood, acrylic and metal samples to test the engraver.
The easiest way is to start assembly from the top down. Thread the Y-axis motor cable through the left Y-axis, then connect the left and right Y-axis with one bolt. The frame of the router is not a standard aluminum extrusion - Ortur makes custom parts that are well machined and lock precisely into place, ensuring the frame is square.
Once the Y axis is in place, you can slide over the already assembled X axis. Then mount the straps on both sides, which you need to blindly hook onto the pulleys inside the back assembly. It's a bit of a hassle, but if you're really stuck, you can remove the end cap so you can see what you're doing.
Then you need to attach the idler. Fit them loosely and loop the straps around them. Set its position with the included set screw to set the belt tension. There is a marker showing their best position. You can then screw the pulleys into place. If the strap is too loose or too tight, you can loosen these bolts and adjust the set screws.
You can then use the single bolt again on both sides to attach the front assembly. Connect the motherboard connector on the connector and connect the Y-axis cable that was pulled earlier. This was the most troublesome bit for me - it was very difficult to plug in the little connector.
You can then connect the other end of the connector to the X-axis motor and use the provided zip ties to loosely hold this rather bulky cable in place. Then connect the laser's cable to the socket marked "L" and secure loosely in place with a zip tie.
The laser module is already equipped with an air-assisted nozzle and a laser shield. It slides onto the X-axis using a dovetail mechanism and can be locked into its vertical position with a thumbscrew.
Plug the laser cable into the laser module using the keyed 5-pin connector. It's all very neat, making the laser module very easy to remove to clean the lens, remove the air assist nozzle, or replace another laser module in the future.
You can then install two stop bolts to the front of the engraver to prevent the laser head from hitting the front assembly. Slide the X axis onto these stop bolts, then slide the belts on both sides into the toothed belt grooves so everything is square. Screw on the WiFi antenna to complete the assembly.
This is the smartest engraver I've ever seen, and it's well made and solid.
My only two real criticisms are the rotary scroll wheel switch, which, while useful, is rather exposed and looks a bit cheap. What's more, the bulky wiring machine lacks any cable management.
It's easy to get caught in things, so I 3D printed a small zip tie base and taped it to the side of the router with double sided tape, which helps keep things organized.
It's a very low-profile machine, for reasons I'll get to later, but you'll still need quite a bit of room. Above you can see the required working space for the machine. The dimensions listed on the Ortur website seem to be a bit off. But if you want to move it around, it's pretty light at 4.3kg.
The top of the front assembly has a power button that requires a long press to turn on and off, and a multi-color LED ring that glows to indicate its status. Then there is a barrel lock with key provided and emergency stop button. Keyed locks are a welcome feature if you have young children around or want to use them at a school or makerspace. You will need to make sure the lock is in the open position and reset the position by turning the emergency stop button clockwise to open the machine.
Behind the front assembly is a microSD card slot in a rather awkward position, with a reset and boot switch next to it.
On the left side of the front assembly are the USB port for connecting to a computer, the DC jack for connecting an AC adapter, and the WiFi antenna.
The Y-axis switch on the back needs to be in the Y-motor position, unless you're using the rotary wheel that connects to the port below the switch.
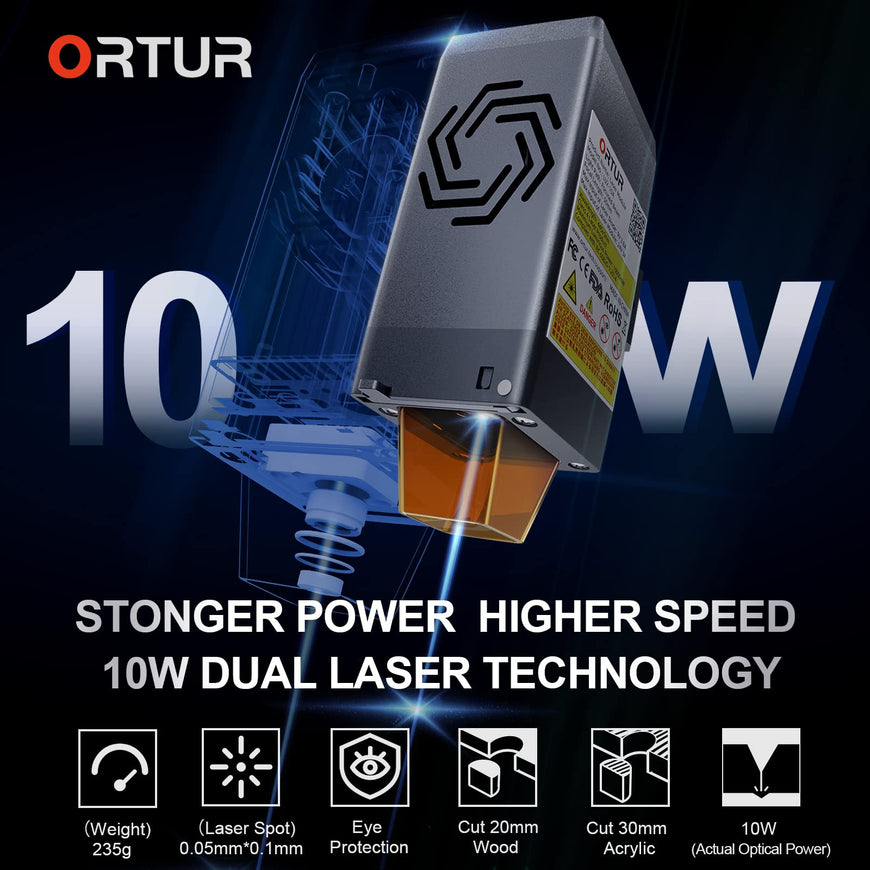
The OLM3 features a 10W laser module combined with two 5.5W laser diodes. It has a 0.05 x 0.1mm focal spot and an 8mm depth of field, providing a good combination of engraving and cutting performance. Its 400mm x 400mm capacity is average for an open diode laser machine of this type, but smaller than the TwoTrees TS2 I saw last month.
Its biggest selling point is speed. Ortur cites an engraving speed of 20,000 mm/min, twice the engraving speed of a typical 10W laser. It achieves this through its low profile design and relatively compact and light laser module. But this low-profile design does mean that you'll need to lift the router to machine thicker items, especially if you're using a honeycomb cutting table. Ortur does sell foldable feet to increase its height, but I haven't received any to try.
Before I go on to discuss testing, if you're new to all this, be sure to see my previous article covering laser safety. The article also covers the basics of laser engraving and cutting, and the basics of using software like Lightburn which I will be using with OLM3. At least from a safety standpoint, you must wear the included laser safety glasses.
The Ortur does have some extra security features along with the key lock and panic button I mentioned earlier. It has tilt protection, which turns off the laser if the machine falls off the table, and it has exposure duration detection in case the motor stops moving for any reason. If the laser is left on at the same location, it may cause a fire.
Before you can turn on the laser engraver, you will need to install a microSD card - the engraver will not work without it. Be careful not to miss the microSD slot and slide it into the front assembly frame. I then connected the Ortur to my computer with the provided USB cable. You will be able to view the contents of the microSD card through this USB connection.
Unusually, this is a USB-A to USB-A cable, rather than a typical printer cable that has a square USB-B connector on the other end. In Lightburn you can also use the free LaserGRBL, add the engraver manually and select the GRBL with USB connection and set the size to 400mm x 400mm. The home position is on the front left, and you can disable auto-homing, as it will do it anyway. The laser has a focal length of 50mm and the laser module has a convenient spread out arm to set the correct height above the workpiece.
I found the extension arm to be a little flimsy, and it didn't lock into place. The adjustment changes slightly as you tighten the thumbscrew, so it takes some practice to get this right. I prefer the motorized automatic height adjustment feature on the Two Trees TS2, which also lets you automatically lower the Z height when making multiple cuts.
I wanted to test the high-speed claim first, so I engraved a grayscale photo of this cork coaster. I'm using 20,000mm/min, 0.1mm line spacing, 100% power, it's too dark as you can see. In Lightburn you can adjust the speed and power during printing, I ended up with 50% power for the last third of the engraving and it looks about the same. Printing takes approximately 8 minutes.
Ortur provides helpful guidelines for engraving and cutting various materials on the included microSD card. This is a good starting point, but I recommend using the material testing functionality in Lightburn to fine-tune your setup for best results.
For Basswood plywood, Ortur recommends 15,000 mm/min at 100% power. Using the Lightburn material test, I engraved this test image, which I would say is about correct, but I darkened it a bit and engraved the same image again at 12,500 mm/s.
I also tried engraving these coated aluminum business cards and after a little rubbing with isopropyl alcohol it worked really well. I again used Ortur's recommended settings: 3000 mm/min at 25% power. Although these coatings do give off some nasty smoke, even when extracted.
The 10W laser is even powerful enough to engrave stainless steel. You don't need to apply any coatings, and the little name tag performed really well at Ortur's recommended 2000mm/min and 100% power - even though my text did get a bit off center.
I cut and engraved a small tag out of leather less than 2mm thick and it came out perfectly - even the small holes were precise and rounded, which is a challenge for these belt driven machines.
When cutting, you can use the built-in air-assisted nozzle, but you'll need to provide your own pump. I tried it with a cheap pump from Fox Alien, but it was actually worse than no pump at all, as you can see below.
With the fan turned on along with the laser, the laser module itself seems to generate enough air for lighter cuts.
For deeper cuts, I used the main compressor with its digital regulator set to 15 PSI, which did give sharper results.
Ortur does offer some additional fittings to work with the air supply hose, but I just used a 3D printed adapter to connect it directly to my compressor hose. The hose fits directly into the laser module. It's a bit of a hassle, but you need to push down on this black collar to retract the little barb that grabs the hose to insert and release the hose. I attached it loosely to the router to keep it tidy and keep it from getting tangled.
The air nozzle can be easily removed when engraving. Just squeeze the laser shield lightly and unscrew the nozzle. This is a very clever design.
Like all of these diode laser makers, Ortur has some bold claims to make when it comes to cutting. According to their website, this 10W module has a maximum cutting depth of 30mm. Although looking more closely at their materials chart, this is using black acrylic, 17 passes at 100mm/min and 100% power, so you don't want to do this too often, even if possible.
But the more typical, stronger birch plywood was more of a challenge. With the air assist from the compressor I can cut 100% at 200mm/min most of the time. But the 10W TwoTrees TS2 can cut the same sheet at 300mm/min.
Jog the laser into position using the app with WiFi
The OLM3 also has built-in WiFi, and you can easily connect to the machine using the free Laser Explorer app. The app does far more than I expected. You can select an image or text to engrave, create barcodes and QR codes, but what I find most useful is using it to precisely nudge the position of the laser. The machine doesn't have a built-in LCD screen to control the engraver, but the app is a useful substitute. I would be a little wary of using it for sculpting, though. When I turn on the laser to line up jobs, it sets the power at 4%, which is way too high and starts burning a spot on the material if you're not careful. I can't get it lower than 1% - in Lightburn I use 0.25%, which is enough to see the laser dot.
Connect Wirelessly to Your Engraver Using Lightburn
I still prefer to use Lightburn to send jobs, and I did find the app disconnect a few times while testing. You can also access Engraver's own server via the IP address visible in the app. I was able to connect to Lightburn's engraver from a computer connected via ethernet. I just added another device and selected ethernet. Using this machine wirelessly is convenient, but I haven't had 100% success with it, with a few prints randomly aborting during printing.
The laser engraver is completely silent when not engraving. The fan is only turned off when the laser is on, when the laser is off the fan turns itself off after a few seconds. The fan is loud when running, but the motor runs very quietly. You can hear it in action in the accompanying video. The overall feeling is that of a very refined carver.
The Ortur Laser Master 3 is a very well designed machine that delivers some really good results. Its engraving performance is particularly impressive, with its high speed and fine laser spot. Setup is super easy, and I especially like how the belt and pulleys hide dirt and grime.
The integrated WiFi is a great feature, not only for use with the smartphone app, but also for wireless printing from the Lightburn, even if I didn't get 100% reliable results in my testing.