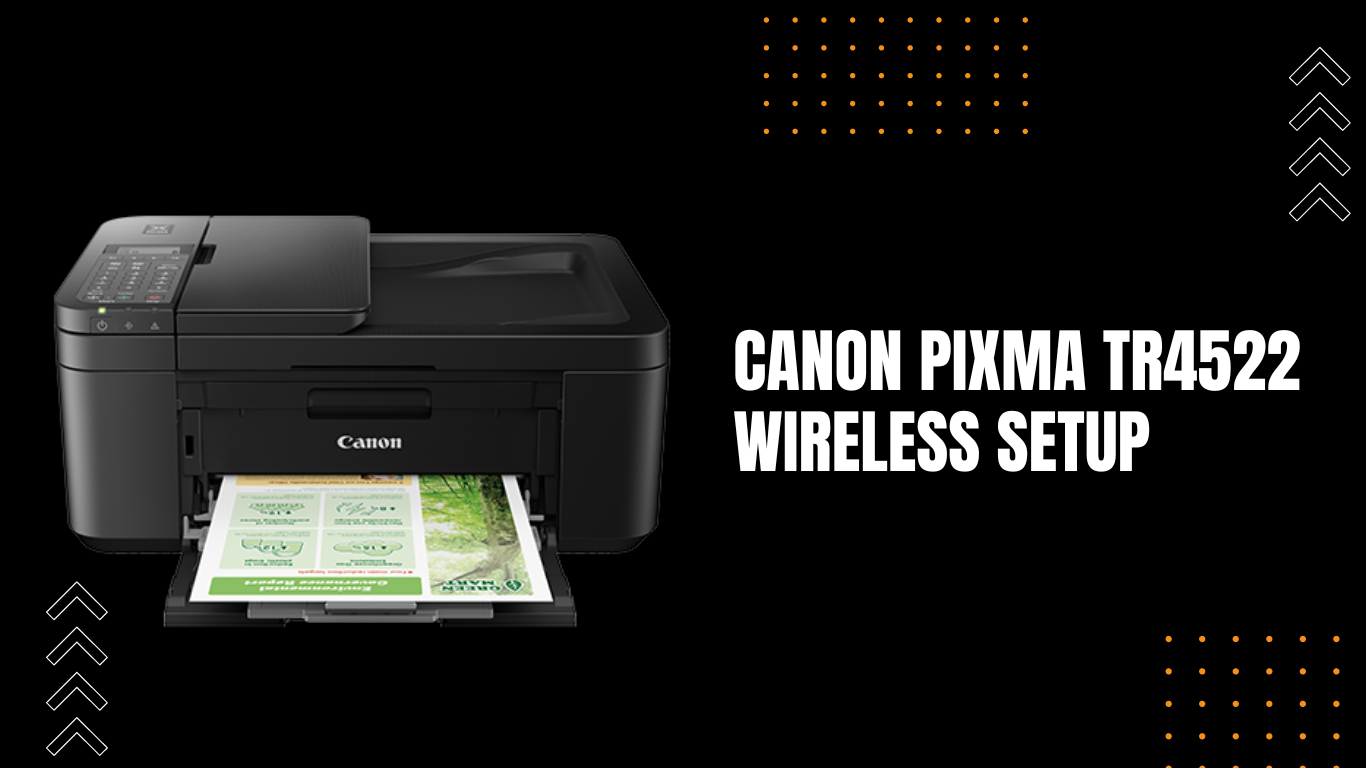
New printer users may occasionally find the Canon Pixma TR4522 Wireless Setup procedure frustrating. The setup process for the Canon PIXUS TR4522 printer is pretty simple, so there's no need to be concerned if this is your first time using it. Reading the procedure outlined in this part will help you understand this.
By following these easy instructions, you can connect your Canon printer to your wireless network. Users of Windows and Mac operating systems can connect to their Canon TR4522 using our solutions. To continue setting up and establishing WiFi with your printer, read the whole blog page.
How to setup WPS on a Canon Pixma tr4522 printer
The methods listed below may be used to perform ij.start.canon TR4522 Setup successfully using WPS.
- Press the WPS button after tapping the "OK" button.
- The push button approach mentioned in the section above is used in this operation.
- Then, while still pressing the WPS button on the access point, push the OK button.
- Within two minutes, press the "OK" button on the printer. Finally, after seeing the screen on the right, click the "Copy" button.
- Your printer is now connected successfully.
Setup for the Canon Pixma tr4522 wireless printer
- Your Windows PC, printer, and wireless router should all be turned on first.
- To connect the printer to your wireless network, go to the instructions in the section above.
- Official Canon website driver
- Follow the on-screen directions to set up your printer when the download is finished.
- After that, choose Start from the menu. Select the Devices and Printers option in the Control Panel after it has opened.
- Add Printer can be chosen from the menu.
- Pick a network printer from the list of choices when the next prompt screen appears.
- Your Windows computer and the Canon Pixma tr4522 wireless printer are connected in a matter of seconds.
- Check the printer's connection right away by printing a test page.
How to use USB to connect a Canon Pixma tr4522
Please verify that the device driver is present on your computer before configuring the Canon printer TR4522 using a USB connection. You can receive it first if you don't. After doing this, you may start the driver and follow the instructions on the screen. The USB cable may then be used to link it to your device and PC. To connect your Canon Pixma tr4522 to your computer through USB, adhere to following procedures.
- The printer and Windows PC must both be turned on. Utilize a USB cable to link the printer to your Windows PC.
- The printer driver should then be downloaded and installed by going to the Canon website.
- then start Control Panel by using Windows Search.
- Select Add Printer, then choose Printers and Drivers.
- Pick your printer from the list that shows on the Windows screen.
- Your Windows computer and the printer will soon be linked.
How to setup a wireless Canon Pixma tr4522 printer
- Ensure that your printer, wireless network, and Mac device are all turned on.
- The printer may then be connected to your wireless router by following the procedures above.
- After that, visit the official Canon website to download and install the printer driver.
- "Apple" should be chosen. Select Printers & Scanners under System & Settings. Select the bottom-left + Add button.
- Choose your printer from the list of available printers.
- Your printer will be successfully setup if you keep going along with the directions displayed on the screen.
After reading this in-depth article, I discovered that the Canon PIXMA TR4522 printer setup was simple and hassle-free. The best setup methods for Canon TR4522 printers on various operating systems, including Windows and Mac, have been the subject of extensive research. You were also shown how to configure your printer for network and wireless use in these stages. Please let us know in the comments area below if you require any further details about how to set up this particular printer type.
References: Canon Pixma TR4522 Setup