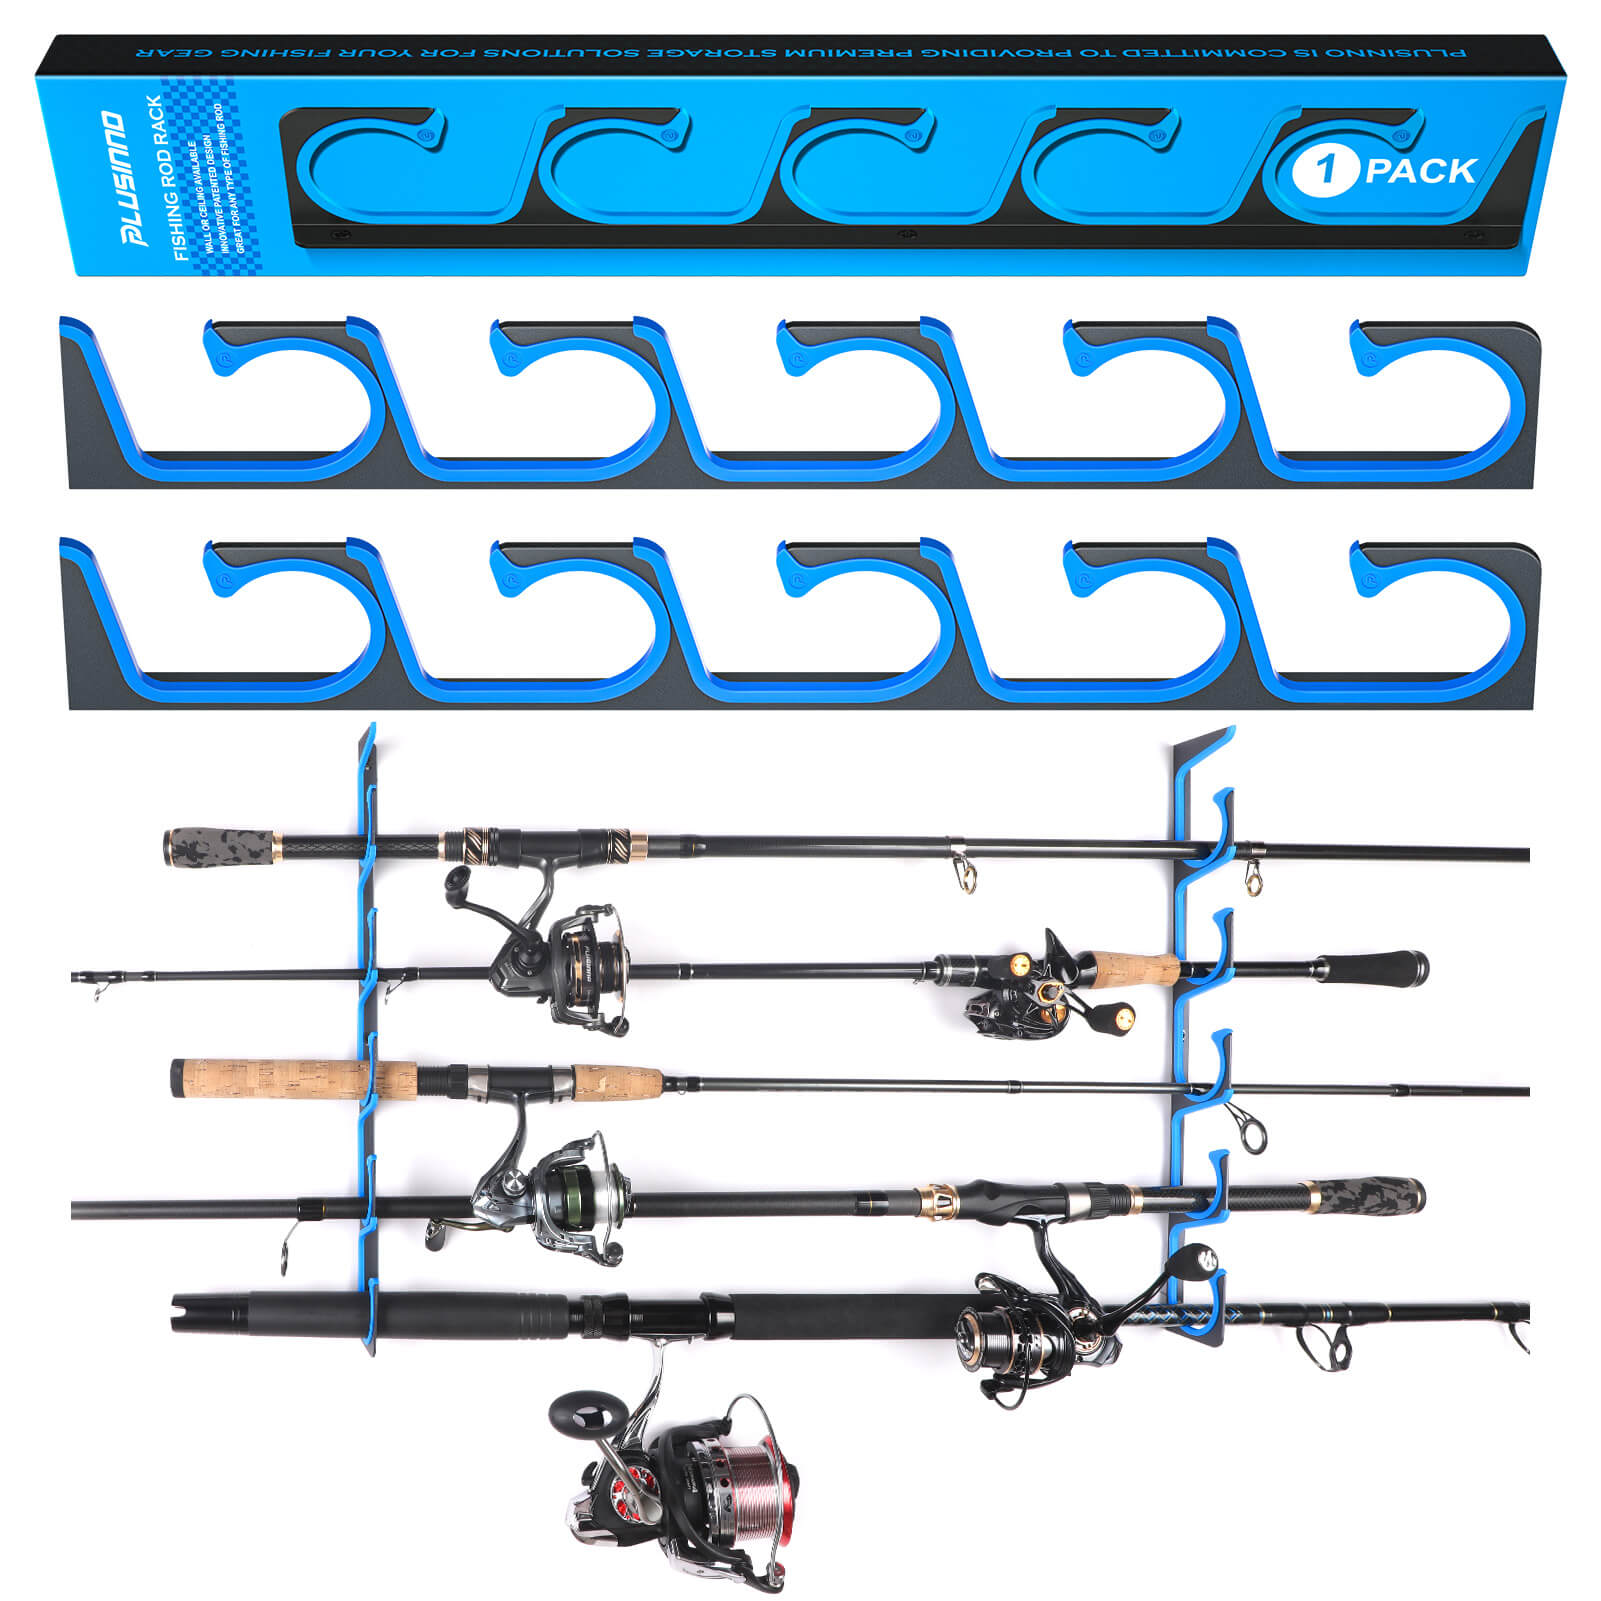
 Fishing Pole Rack If you're an avid angler, you know the importance of taking proper care of your fishing gear. Storing your fishing poles properly can help prolong their lifespan, but it can also be a challenge. If you're looking for a way to store your fishing poles in an organized and secure manner, building your own fishing pole rack may be the perfect solution. In this DIY tutorial, we will guide you through the process step by step. Materials To get started, you'll need to gather the following materials: - Measuring tape - Wood board - Saw - Sandpaper - Wood screws - Drill - Paint or stain (optional) Step 1: Measuring the Board Using your measuring tape, measure the length of your fishing poles. This will determine the width of your board. Cut the board to size using a saw. Step 2: Drilling Holes Determine how many fishing poles you plan to store and their spacing. Measure and mark where each rod holder will go on the board. Using a drill, create holes big enough to accommodate your fishing poles. Step 3: Sanding the Board Sand the board to make it smooth and remove any rough edges. Step 4: Adding Rod Holders Insert the rod holders into the holes you've created. Then, secure the rod holder to the board with screws. Step 5: Finishing Touches If desired, paint or stain the board to match your decor. Conclusion By following these simple steps, you can build your own fishing pole rack. This is a great way to safely store your fishing poles and keep them organized. Plus, you can customize the look of your rack to match your decor. Now, you can make the most of your fishing gear and always be ready to hit the water. Related Websites - Bass Resource: https://www.bassresource.com/fishing/rod-rack.html - Fishidy: https://www.fishidy.com/blog/diy-how-to-make-a-fishing-rod-rack/ - In-Fisherman: https://www.in-fisherman.com/editorial/diy-fishing-rod-rack/154385
Sponsored
DIY Tutorial: How to Build Your Own Fishing Pole Rack
Posted 2024-01-06 03:30:52
0
100
Search
Sponsored
Categories
- Art
- Causes
- Crafts
- Dance
- Drinks
- Film
- Fitness
- Food
- Games
- Gardening
- Health
- Home
- Literature
- Music
- Networking
- Other
- Party
- Religion
- Shopping
- Sports
- Theater
- Wellness
Read More
Thrilling Adventures Await: Buy Power Sports in Texas
Unleash Your Adventure: Explore Our Range of Power Sports
Buy power sports Texas journeys across...
How To Produce Your Own Cryptocurrency In 4 Simple Steps
Just 21,000,000 of these extremely complex algorithms were produced. You can forget, number less....
6 Pack Keto Gummies Die/s Every Minute You Don't Read This Article
6 Pack Keto Gummies: Are you careworn which causes you to benefit weight? Stress is a first-rate...
A Course In Miracles Movies
In A Program in Wonders, Jesus shows us that miracles ought to be involuntary and that they...
Smart Hemp CBD Gummies #Joint Pain and Anxiety Relief
Smart Hemp CBD Gummies, Would you say you are confronting sorrow for a long? Have you made an...
Sponsored