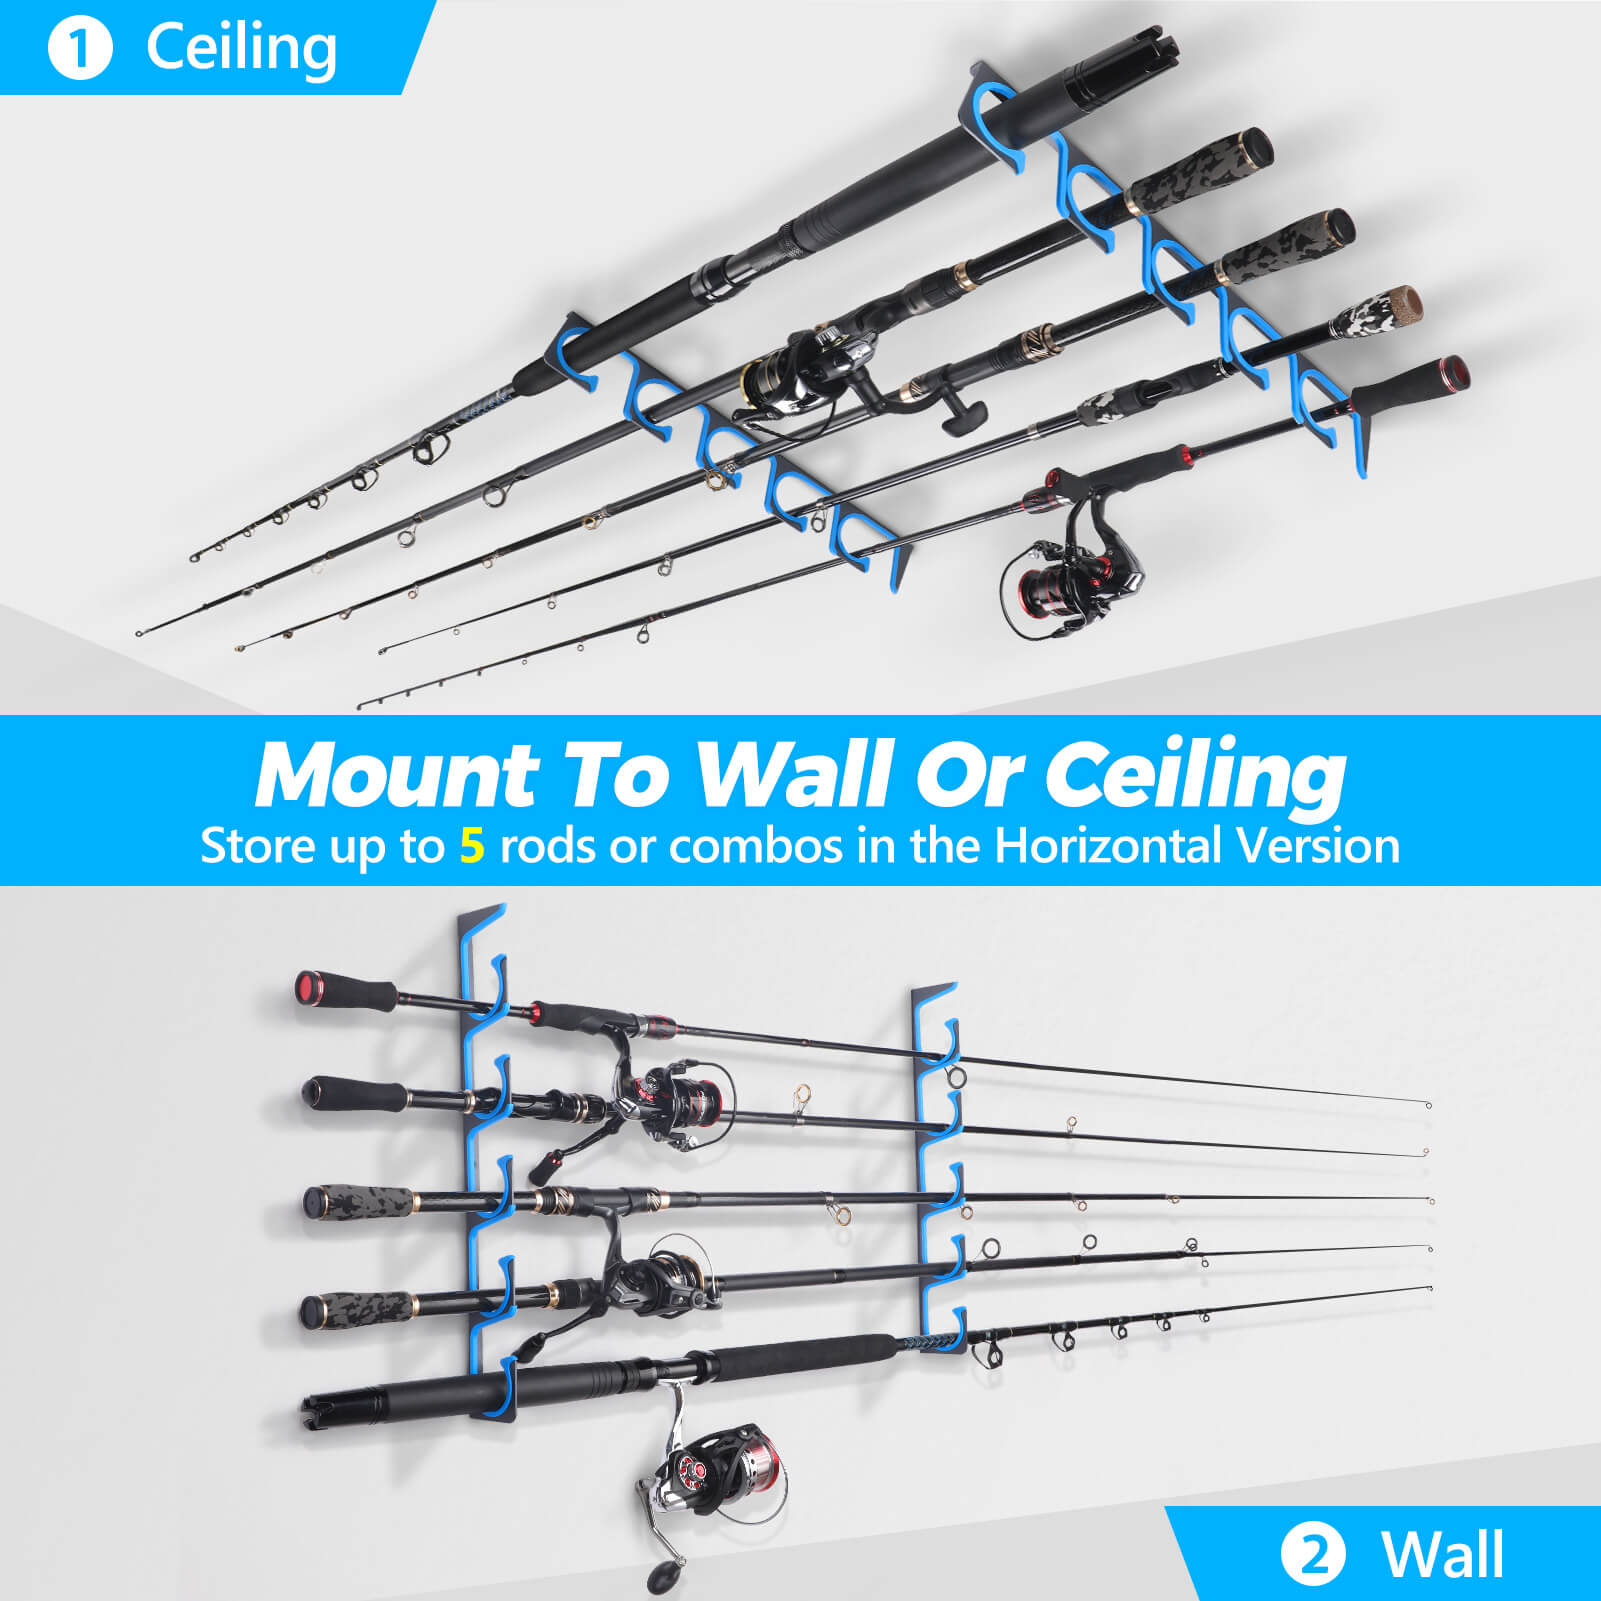
Are you tired of your fishing rods lying around in a tangled mess? Do you want a convenient and organized way to store your fishing gear? Look no further! In this step-by-step guide, we will show you how to build your own DIY fishing rod rack. With just a few materials and some basic tools, you can create a custom rod rack that will keep your fishing rods safe and secure.
Gather Your Materials
The first step in building your DIY fishing rod rack is to gather all the necessary materials. You will need:
- Wooden board
- Saw
- Sandpaper
- Drill
- Screws
- Measuring tape
- Pencil
- Paint or stain (optional)
Once you have all the materials ready, you can move on to the next step.
Measure and Cut the Board
Using a measuring tape and pencil, measure and mark the desired length for your fishing rod rack on the wooden board. Make sure to leave enough space between each rod holder to accommodate the length of your fishing rods. Once you have marked the measurements, use a saw to cut the board accordingly.
After cutting the board, use sandpaper to smooth out any rough edges or splinters. This will ensure that your fishing rods are not damaged when placed on the rack.
Drill Holes for the Rod Holders
Next, determine the spacing for the rod holders on the board. You can either evenly space them or customize the spacing based on the size of your fishing rods. Once you have decided on the spacing, use a measuring tape and pencil to mark the positions for the rod holders.
Using a drill, create holes at the marked positions. Make sure the holes are deep enough to securely hold the fishing rods. You can also use a larger drill bit to create a recessed hole for the reel, ensuring that the rods sit flush against the rack.
Assemble and Finish the Rack
Now that you have drilled the holes, it's time to assemble the fishing rod rack. Place the rod holders into the holes and secure them with screws. Make sure they are tightly fastened to prevent any wobbling or instability.
If desired, you can paint or stain the rack to match your personal style or the decor of your fishing area. This step is optional but can add a nice finishing touch to your DIY rod rack.
Once the paint or stain has dried, your DIY fishing rod rack is ready to use! Simply place your fishing rods in the rod holders, ensuring that they are securely held in place. Now you can enjoy a clutter-free and organized fishing experience.
Conclusion
Building your own DIY fishing rod rack is a fun and rewarding project that will enhance your fishing experience. By following this step-by-step guide, you can create a custom rod rack that suits your needs and keeps your fishing gear organized. Say goodbye to tangled rods and hello to a neat and tidy fishing area!
For more information on building your own DIY fishing rod rack, check out these credible sites:
